Television
You can use Media Center to watch high quality HD television on your PC. You can also connect a PC to your TV or projector and watch it there.
With the switch to digital television, the picture quality of over-the-air television is stunningly good. There are also many channels to be found on Satellite, many of them clear of encryption and, therefore, free to watch without subscription. Add a Netflix subscription and you may feel like dropping your cable subscription.
MC can pause, rewind, fast forward, or record. Together with the Electronic Program Guide (EPG), this makes it an ideal Personal Video Recorder (PVR). Please see the wiki entry for EPG Setup.
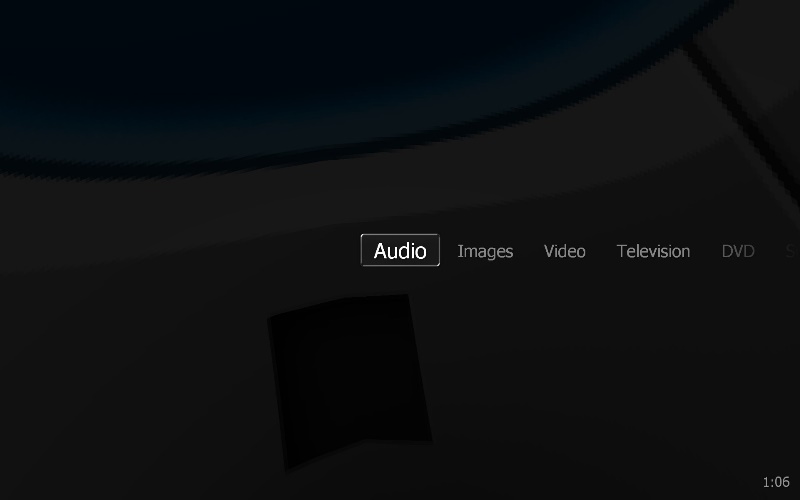
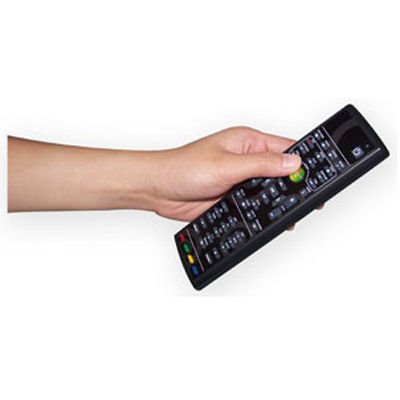
Theater View's ten foot interface is the best way to enjoy MC's television. MC13 implemented support for the Microsoft Media Center (MS MC) remotes. The remotes for XP are different from the ones for Vista, so you'll need to get the right one for your OS.
If you're concerned about power consumption, you'll be glad that MC can wake the PC from sleep in order to record a show.
Hardware
JRiver Media Center supports most HD tuners and supports most TV Formats. You can read more about tuners on JRiver's TV Board. MC can support multiple tuners so you can record two or more channels at the same time, or record one channel while you watch another.
Here are a few recommended hardware choices:
JRiver offers a Media Center Remote and a USB TV Stick tuner.
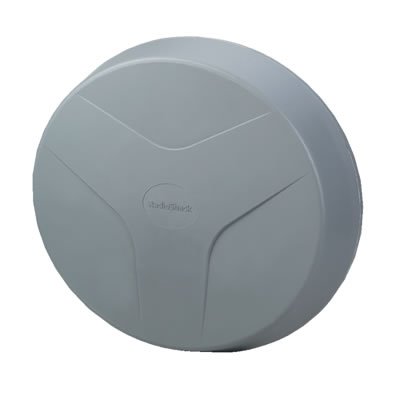
HDTV Indoor/Outdoor Television Antenna
Media Center can also control your Set Top Box
Instructions
Install the Tuner
We recommend Silicondust network tuners.
Another way to add television to MC is to use a USB HD TV stick.
There are also PCI-E cards with multiple tuners and different network types combined into the same card. You don't need one with a remote.
You may need to install the driver that came with the device.
Connect a digital antenna, satellite dish feed, or cable to the device.
Scan For Channels
Run MC. Under Tools > Options > General > Features, make sure TV is checked.
Under Drives and Devices, open Television.
Choose "TV Options" - bottom left of the pane. Under "Settings", select your country and choose a device. Click Configure and select the Tuner Type. The other settings are not important at this stage. If you have more than one tuner, do the same for each. Click OK to return to Options and OK again.
Under TV Options, choose "Scan for Channels". Check "Scan for digital channels". Click Next and select "Digital Scanning Type" Complete the options relevant to the scanning type. Some may be greyed out if they are not appropriate. Click Next to start the scan. The scan may take several minutes so be patient. You should see a list of channels build in the window.
When the scan has completed, if you have more than one type of tuner, e.g. a combined DVB-T and DVB-S card, repeat the process and select the relevant device. If you have a dual tuner with both tuners being the same type, you only need to scan once.
Now, in the main Television pane, you should see a list of channels. Try playing a few channels. They take a few seconds to switch. The antenna must be pointed at the broadcast source.
Edit The Channel List
You may find that you have channels which you don't want to or can't watch. If your scan includes encrypted channels for which you have no subscription, you will probably want to remove them. MC does not currently identify these so it will be a process of trial and error to work out which ones are encrypted. You may also find channels with duplicate names with "(1)" appended to the name. This happens when a channel has more than one audio stream associated such as channels which provide Visual Impaired Commentary. There are two ways to correct this. You can select the channels which you want to appear in the Guide as Favorites or you can delete the ones you don't want.
The current advice is DON'T delete channels. With most network types, several channels or sub-channels are multiplexed together in the same transport stream which has a unique Transport Stream ID (TSID). In order for MC17 to correctly record and playback TV Shows, all channels or sub-channels in a Transport Stream must be held in the Library. See this Topic on the Forum.
If you really must, to delete channels, there are two ways. The first, which is a bit slow, is to select TV Options > Edit Channel List. Ignore the check boxes against the channels. These are to select the channel as a Favorite. Click once on the channel name you want to delete and select "Delete Channel". This option will only delete one channel at a time.
The second way to delete is to create a Smartlist containing all the channels and delete from that. There are other advantages to having this Smartlist which we will come to later. Right click on Playlists in the left pane of Standard View and select "Add Smartlist". Name it, e.g. TV Channels and, under Rules, set Media Type is TV. Remember to uncheck Audio which is the default. Now all your channels will be listed in the main pane. To make sure your smart list is setup correctly, you can check the "Filename" for each entry. They have filename extension "tvlb". The filenames all begin with "TV Channel" and ends with "([tuner type])", like
"TV Channel xxxxxxxxxx (ATSC).tvlb" "TV Channel xxxxxxxxxx (Set Top Box).tvlb"
A piece of advice at this stage. Create a backup. File > Library > Back Up Library. Now, if you accidentally delete channels which you want, you can restore the library. Now, holding the Alt key, click on those channels which you want to delete. Point to any one of these selected lines and right click and select delete. Confirm Delete from Library.
You can then set up a TV Guide or EPG.
MC's Television is at its best when used with Theater View and a Media Center Remote.
Configure Startup
If you intend to schedule TV programs to record, particularly if you allow your PC to sleep, you need to configure MC Startup so that MC's Server will run when the PC starts. The TV scheduling runs on the server. The server will wake the PC to record your shows.
Go to Tools > Options > Startup > Windows Startup. Select "Media Server". Click "OK". Now the Server will load when Windows starts.
Watching Live TV on a Client PC
In MC17, and MC18, recording behavior is defined when tuners are on the server. A user can schedule recordings on a client, and recording then happens on the server.
The only thing that does not work is to record on a client with a tuner on the client. Tuners on clients can only be used for watching live TV. MC17 requires a tuner on a client to watch live show on the client. MC18 uses the client tuner for the same purpose if available, and uses a server tuner when there is not one on the client.
CableCard
MC18.0.146 added support for CableCard Tuners
An Interact post that details MC's TV Features
Mac and Linux
All supported formats work on computers with Windows operating system. The following formats, or tuner/channel types are also supported on Mac and Linux.
DMS Tuners
These are network tuners that provide network streaming service (DMS, or Digital Media Service). Support was added in Media Center 26 (limited support) and Media Center 27 (full support).
CableCARD (US only)
These are devices are used by cable companies in the US. Support on Mac and Linux was added in Media Center 28. Copy-free channels only.
Sat>IP
These devices tune to DVB-S signals (some devices also tune to DVB-C or DVB-T) and stream the TV contents on your network. Support on Mac and Linux was added in Media Center 28.
IPTV
Support was added in Media Center 28.
More
TV Tuners supported by MC.
A thorough description of MC's TV features on Interact.
This site has a lot of good information. http://www.antennaweb.org/
If you're in the U.S., try this: http://www.antennaweb.org/Address.aspx


