Import
Importing files has two main advantages: it provides a highly customizable database of all your files for easy access and viewing, and you can easily edit, rename, and organize the files. Say goodbye to opening folders and more folders to find a photo or music file. You can import any of the Supported File Types.
Here are some of the things you can do with imported files:
- View them sorted by any number of fields, including artist, album, genre, size, length, and even your own custom fields.
- Edit their ID3 tags (to save information with the file itself).
- Add custom fields and cover art.
- Add them to Playlists and include them in Smartlists.
- Easily find any file quickly.
Methods for Importing Files
There are a few ways you can import your files into Media Center:
- Automatically when opened with an empty Library
- Via Drag and Drop
- Via the Shell Integration features (Windows only)
- Via the Media Import wizard available at Tools > Import.
- Via Auto-Import, which can watch directories you specify automatically in the background.
First Use Scan
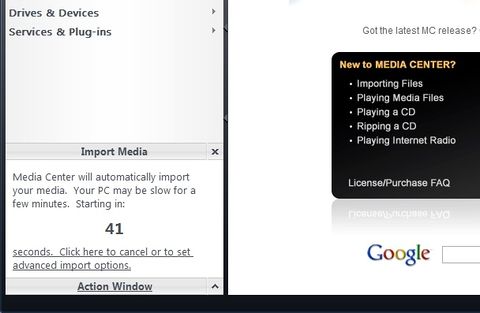
When you open Media Center for the first time, or with a blank Library, it will automatically scan your hard drive in common locations for media. This happens in the Action Window area of MC. You can cancel this if you prefer to adjust the watched directories used by Auto-Import, or import manually.
When you open MC with a blank Library, it will wait for 45 seconds before running this automatic scan:
One Time Imports
There are a few methods you can use to import files or folders into MC on an individual basis. These are "one-off" imports and don't provide many of the benefits of the Auto-Import system.
Drag and Drop and Shell Integration
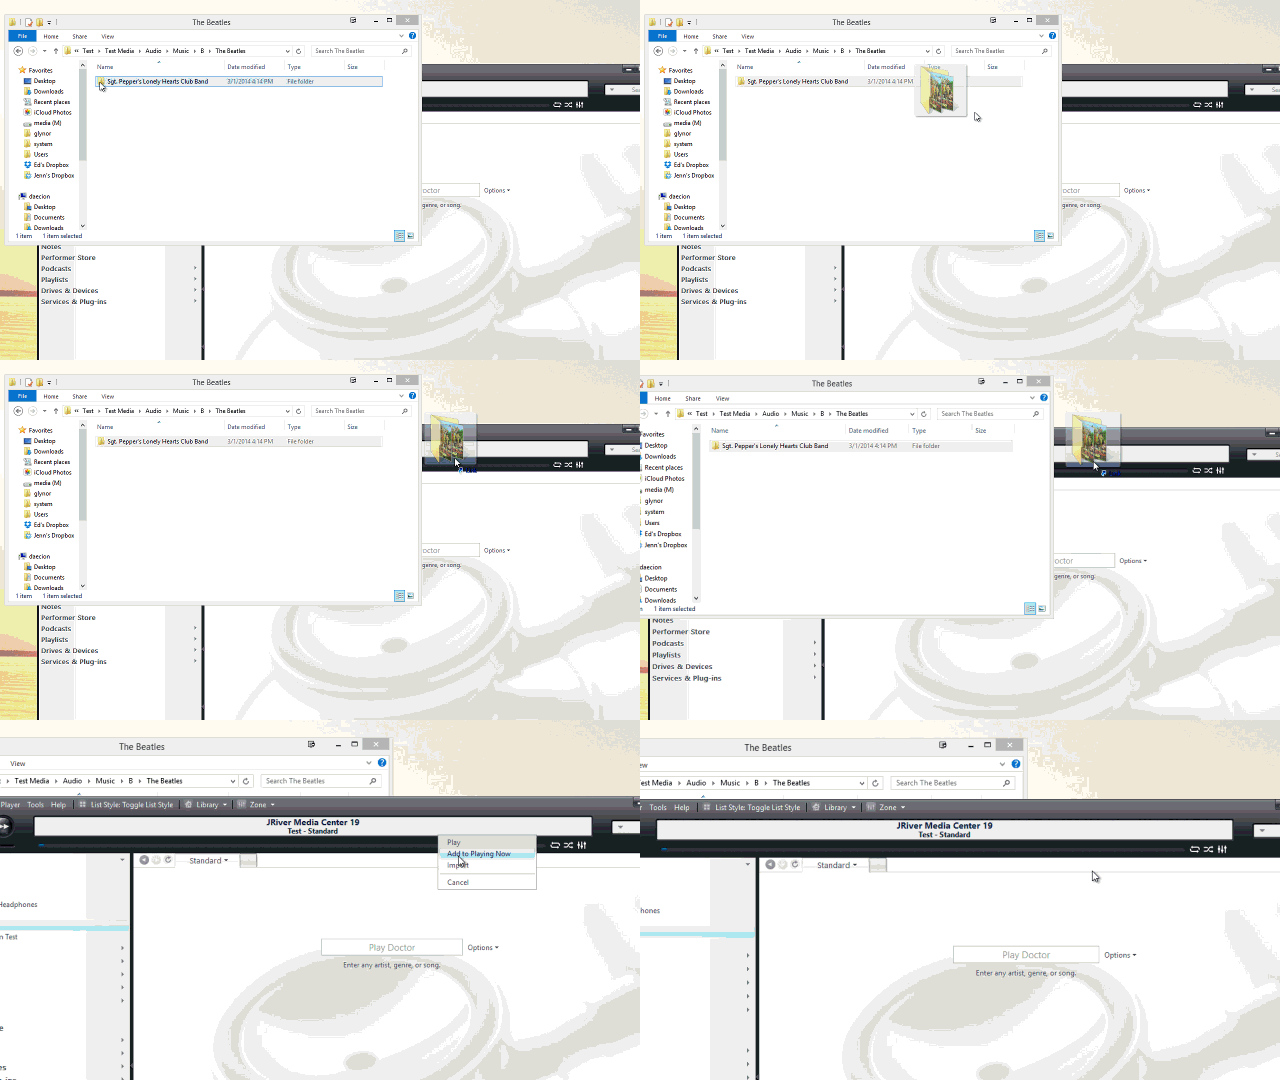
You can drag and drop files from Windows Explorer onto the MC window to import the files. This method will import the files "cleanly" and does not obey any Tagging rules you have defined in Auto-Import (see below for details).
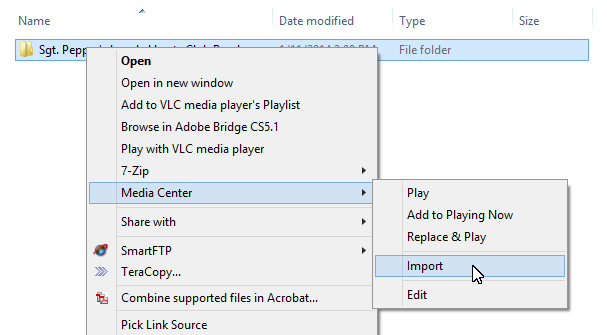
To import from Windows Explorer via shell integration, right click on a file, or a folder full of files, and choose Media Center > Import.
You can also drag-and-drop files from Windows Explorer onto MC:
Importing a Single Folder
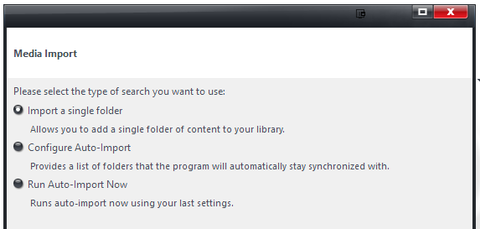
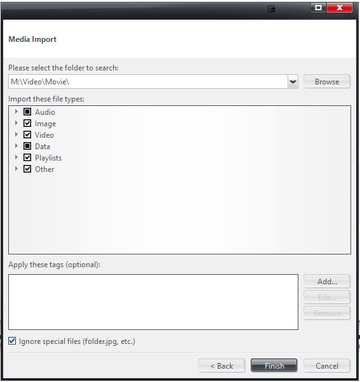
To import a single folder (including any subdirectories) into Media Center, you can use the Import a single folder function of the Media Import wizard. This is accessible via: Tools > Import. The same tool is also available at File > Library > Import, and from within the Library Manager (with the current Library selected).
Once you select this option, you are presented with the Media Import Folder options dialog, which allows you to specify the path to the folder to search, the types of files you want to import, and optionally tags to apply to these files automatically. This dialog is described in more detail in the Auto-Import configuration section below.
Please note that this is a one-time operation, and the settings you enter here aren't easily saved (though it does remember these settings from run-to-run). If you need to repeatedly import files from a fixed set of folders on disk, you will be better served using the Auto-Import system described below.
Importing via Automation
Media Center also includes a command line option for Importing files. Please refer to The Command Line for additional details.
Auto-Import
- Further Information: Auto-Import
Media Center has a full-featured Auto-Import system. With this system you can:
- Define a set of folders that contain media, each of which have separate options defined.
- Manually scan all of your pre-defined folders on demand.
- Make use of the powerful Carnac (file name parsing) and Automatic Metadata Lookup features of Media Center
- Automatically apply tags to the files imported using powerful Tag on Import rules.
- Watch the folders automatically in the background for new files, without bogging down disk or network access.
In most cases, using Auto-Import to automatically watch your media locations on disk is the preferred means of Importing new content. Media Center turns this feature on by default, and automatically sets itself to to watch the locations found when it completed the automatic First-Use Scan. If you did not allow it to run this automated scan, then you will need to configure Auto-Import yourself.
For information on how to configure Auto-Import, please refer to the Auto-Import page of the Wiki.
