Action Window
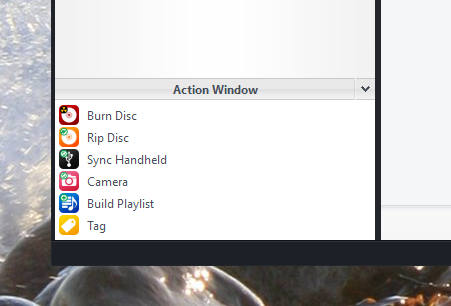
Media Center's Action Window is a system of that allow you to interact with your media files independently of the main Views of Standard View. Use the Action Window to perform tasks on your files, such as changing tags, syncing to Handhelds, creating or modifying playlists, and Importing media.
Action Windows are used for a wide variety of tasks in Media Center, including:
- Burn Disc
- Rip Disc
- Sync Handheld
- Camera and Camera Card importing
- Building Playlists
- Tagging and Viewing Metadata
- Importing Files
- Playing Media
Using Action Windows
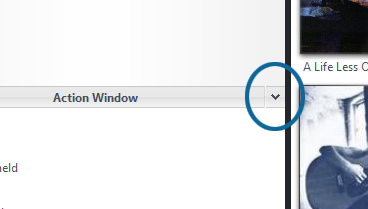
- Minimize an Action window using the minimize button at the top right.
- To restore it, click on the maximize button, or on the minimized Action Window itself.
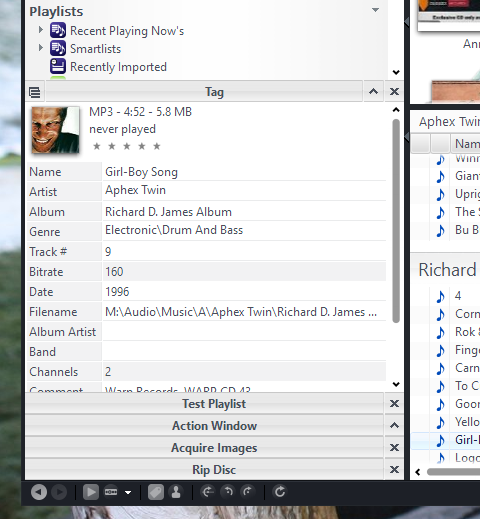
- You can have many windows open simultaneously. Select an item in the Action Window list, and instead of closing it (the "X" button), either minimize it (with the Minimize button), or open another Action Window "below" it in the "stack". You can toggle between the open Action windows.
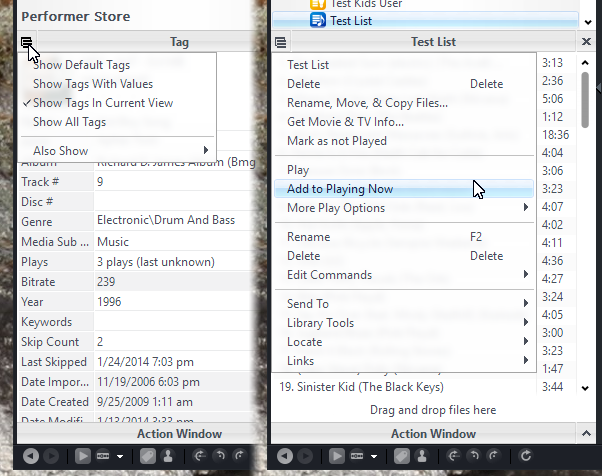
- The upper left icon in the Action Window is a context-sensitive Menu button, and will display different options depending on which Action Window is currently active.
Available Action Window Tasks
File Properties: Opens a menu with these items:
- Tag Info. When files are selected, displays the tags for those files. Customize the columns to show by clicking on the Tools button (upper left of Action Window) and selecting Columns to Show.
- File Type Info. Displays read-only information about the file type, tags details about the file's format.
- Image. Displays the image associated with the file. The Tools button (upper left of Action Window) displays various actions to be performed on images.
- File Playlists. Displays all the playlists that include the selected file.
- Statistics: Displays various types of statistics.
Build Playlist. Opens a menu with these items:
- Build a new playlist. Click this to create a new playlist, and after you have named it and assigned it to a group, drag files into the Action Window to build the playlist. You can change the order of the tracks by selecting them and dragging them to their new position within the Action Window.
- Build a new smartlist. The Build New Smartlist window opens. Give the smartlist a name, associate it with a Playlist Group if you want, and add smartlist rules.
- Edit Existing Playlist. Select the playlist, and add, remove, or sort tracks.
- Edit Playing Now. Opens the Playing Now playlist. You can add or remove tracks to it by dragging them into the Action Window or sort tracks by selecting them and dragging them to their new position.
Camera. Acquire images from your scanner directly through the Action Window. Select Options (next to the Acquire button) to set the path for your pictures, the types of files to acquire, and to set various scanner options.
Print. Quickly print images or the list of files in the content pane.
Burn CD or DVD. Quickly burn files to a CD or DVD. Select the type of CD you want to create (Audio or data), enter a name for the disk, and click the Next button. Then simply drag files into the Action Window to create your "to burn" list. When you are ready to begin burning, select the Burn button in the Action Window. See Create (Burn) CDs or DVDs for more information.
Rip CD. Make sure you have a CD in one of your drives, and then select Rip CD from the Action Window. The list will display the tracks on the CD. Select the Rip button in the Action window to begin copying the CD onto your computer. See Copy (Rip) a CD to your Computer for more information.
Handheld Player. Select Handheld Player, then drag files into the Action Window to create a list. When you are ready to transfer the files to your device, select the Transfer button. See Handheld and Portable Devices for more information.


